Visva
Visva - Architecture & interior HTML Template
This documentation is last updated on 17 December 2024
Thank you for purchasing this HTML template.
Sass Compile -
1.- Install Node.js
To compile Sass via the command line first, we need to install node.js. The easiest way is downloading it from the official website nodejs.org open the package and follow the wizard.
2.- Initialize NPM
NPM is the Node Package Manager for JavaScript. NPM makes it easy to install and uninstall third party packages. To initialize a Sass project with NPM, open your terminal and CD (change directory) to your project folder.
npm init

Once in the correct folder, run the command npm init. You will be prompted to answer several questions about the project, after which NPM will generate a package.json file in your folder.
3.- Install Sass
sass is an NPM package that compiles Sass to CSS (which it does very quickly too). To install sass run the following command in your terminal: npm install sass
npm install sass
4.- Write sass Command
Everything is ready to write a small script in order to compile Sass. Open the package.json file in a code editor. You will see something like this: In the scripts section add an scss command
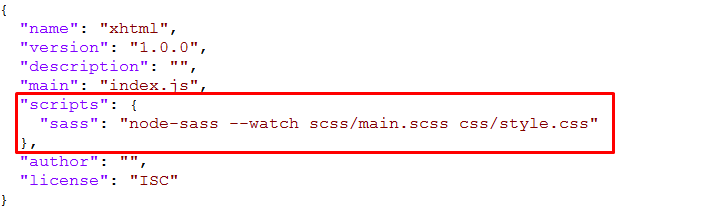
"scripts": {
  "sass": "sass --watch scss/main.scss css/style.css"
},
5.- Run the Script
To execute our one-line script, we need to run the following command in the terminal: npm run sass
npm run sass
6.- Other Option
--source-map
"sass": "sass --watch scss/main.scss css/style.css --source-map css/style.css.map"
Folder Directories -
-
images
This folder contains all the images of Visva template.
-
fonts
This folder font files for various template features.
-
css
This folder contains all the CSS files of Visva template.
-
js
This folder has all javascript files for various template features.
-
vendor
This folder has all plugins used in the template.
-
script
This folder has all script contact form used in the template.
-
scss
Scss File
HTML File -
- xhtml
- assets
- css
- icons
- images
- js
- script
- scss
- vendor
- index.html
- index-2.html
- index-3.html
- ............
- assets
Theme Features -
Color Theme
Choosing a color theme for a website is an important part of creating a visually appealing and effective design. Here are so many color option available, you can choose a color theme for your website.
<link rel="stylesheet" class="skin" href="assets/css/skin/skin-1.css">
Layout
The layout of a website refers to the way in which content and design elements are arranged on each page of the site. A well-designed layout can help to make a website more visually appealing, easy to navigate, and engaging for users. Here two layouts are available-
<body id="bg" class="boxed">
<body id="bg" class="frame">
Header
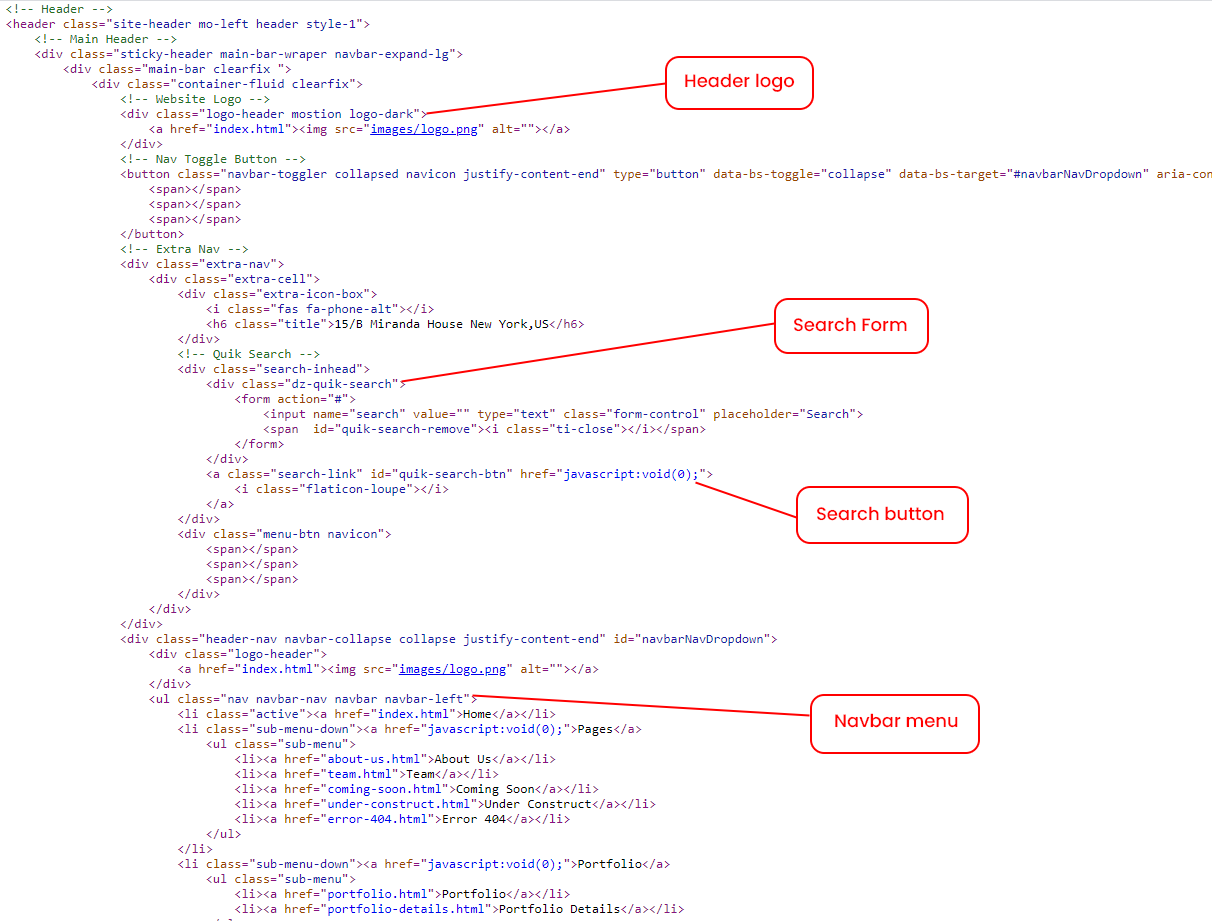
The header of a website is the top section of the site that appears on every page. It typically includes the website logo, navigation menu, and sometimes additional elements such as a search bar, social media icons, or a call to action. Here we used fixed and sticky header in our website-
Header Fixed is-fixed
<div class="main-bar-wraper navbar-expand-lg sticky-header is-fixed">
Header Static sticky-no
<div class="main-bar-wraper navbar-expand-lg sticky-no">
Background Color
The background color of a website is an important aspect of its overall design. It sets the tone for the site and can have a significant impact on user experience. You can use body background color like this but it will work only in boxed and frame layout
<body id="bg" class="frame" style="background-color: rgb(255, 175, 41);">
Background Image
Using a background image on a website can add visual interest and personality to the design. You can use body background image like this but it will work only in boxed and frame layout
<body id="bg" class="boxed" style="background-image: url("assets/images/switcher/large/background/bg1.jpg");">
<body id="bg" class="frame" style="background-image: url("assets/images/switcher/large/background/bg1.jpg");">
Credits -
-
bootstrap
-
imagesloaded
-
lightgallery
-
magnific-popup
-
masonry
-
owl-carousel
-
Swiper js
-
twentytwenty
HTML Structure -
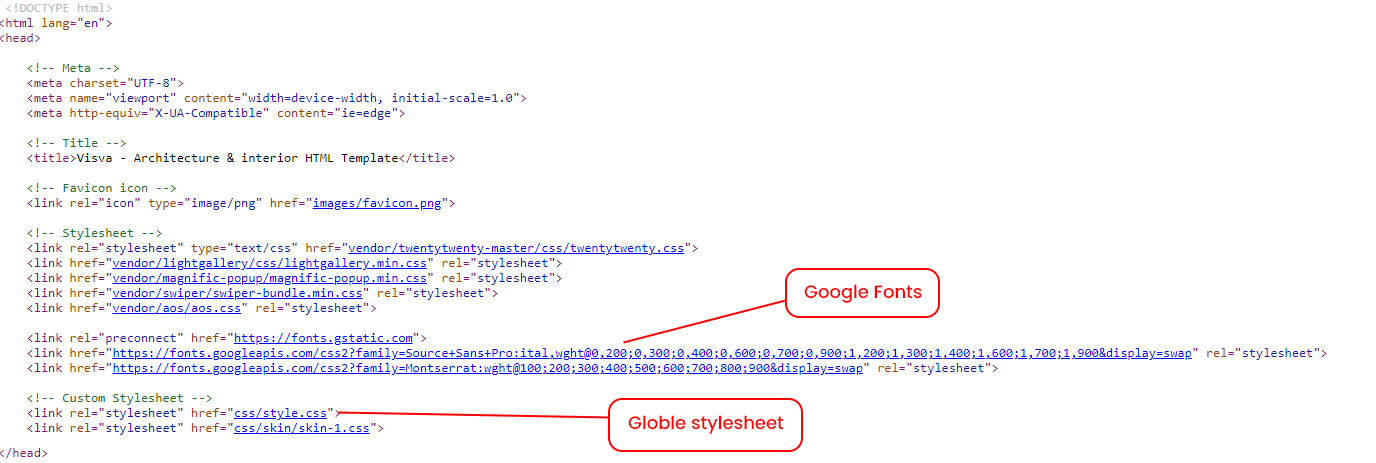
Head Structure
Header
Footer

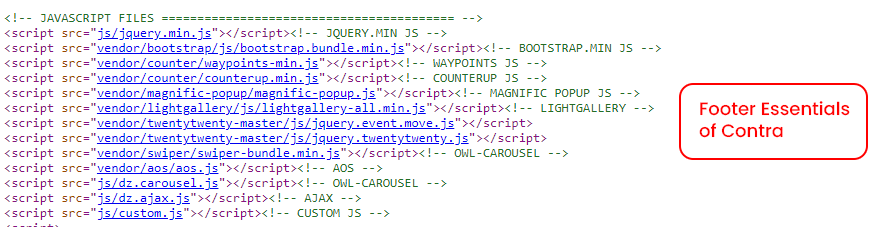
Footer Essentials
Contact Form Handler -
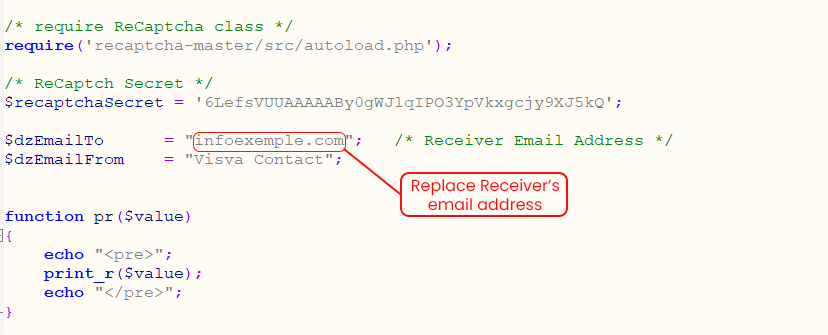
1. Simple Mail Function
File Path assets/script/contact.php
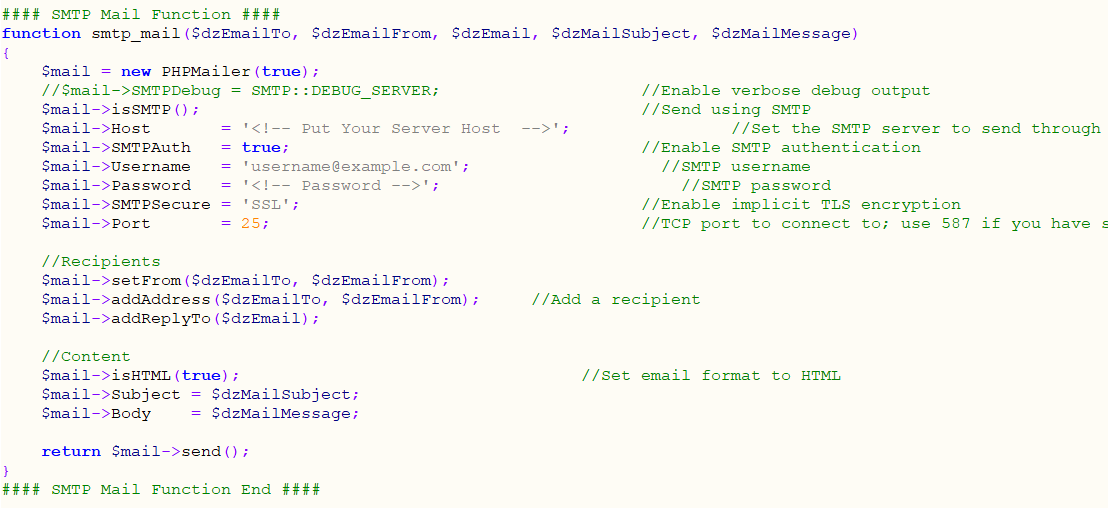
2. Using SMTP
File Path assets/script/contact_smtp.php
Enter the required details for the SMTP server. These should be provided by your system administrator.
Host = '<Put Your Server Host>';
Username = '<Put Your SMTP Username>';
Password = '<Put Your SMTP Password>';
SMTPSecure = '<PHPMailer::ENCRYPTION_SMTPS or 'ssl' OR PHPMailer::ENCRYPTION_STARTTLS or 'tls'>';
Port = '<465 or 587>';
reCAPTCHA -
Register your website and get Secret Key.
Very first thing you need to do is register your website on Google recaptcha to do that click here.
Login to your Google account and submit the form.
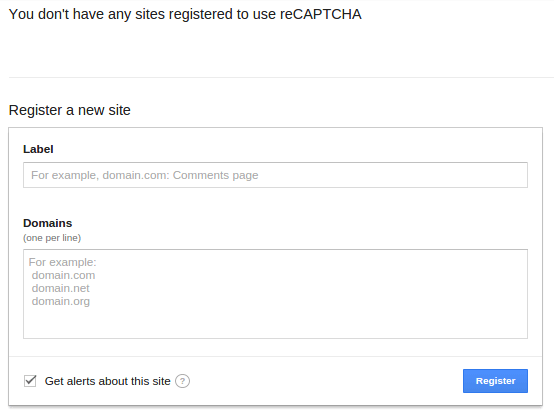
Once submit, Google will provide you following two information.
- Site key
- Secret key
Integrate Google reCAPTCHA in your website.
To integrate it into your website you need to put it in client side as well as in Server side. In client HTML page you need to integrate this line before HEADtag.

And to show the widget into your form you need to put this below contact form, comment form etc.

When the form get submit to Server, this script will send ‘g-recaptcha-response’ as a POST data. You need to verify it in order to see whether user has checked the Captcha or not.
Sample project
Here is the HTML code for the simple form with comment box and submit button. On submit of this form we will use PHP in back-end to do the Google reCAPTCHA validation.
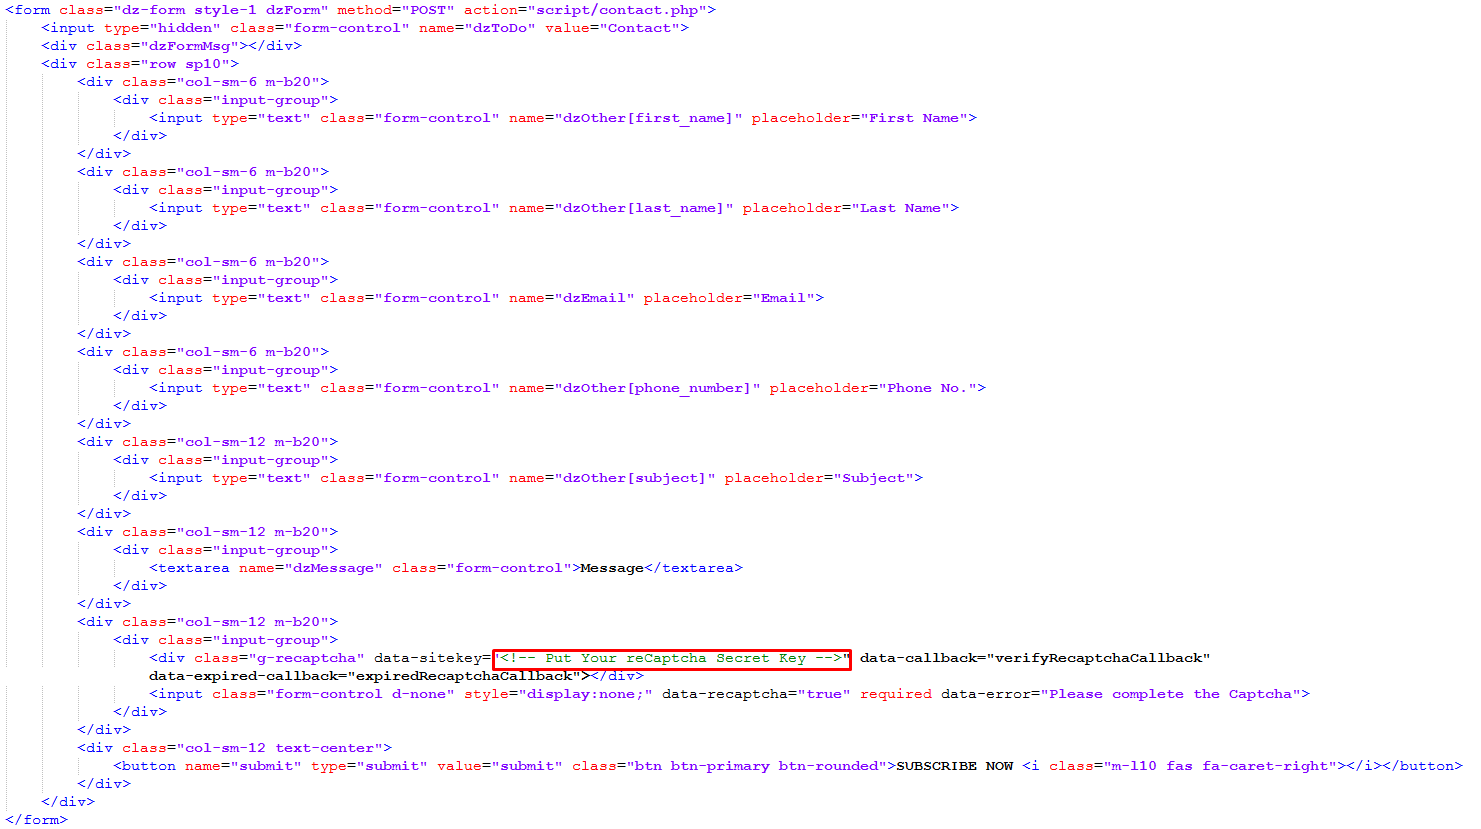
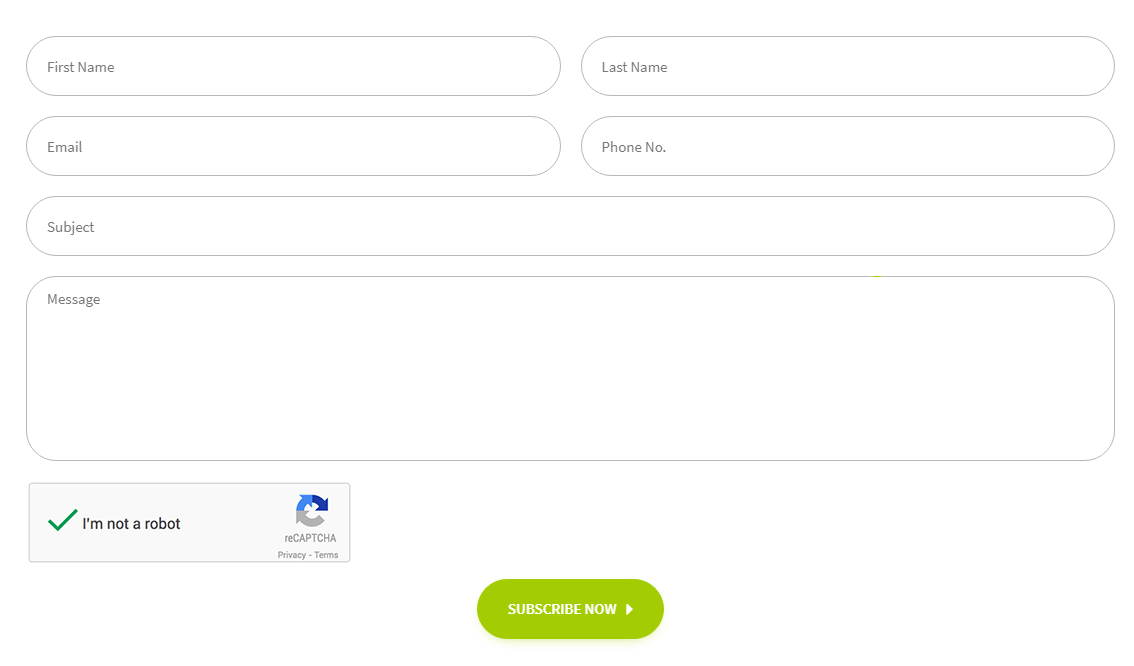
This will generate this form.
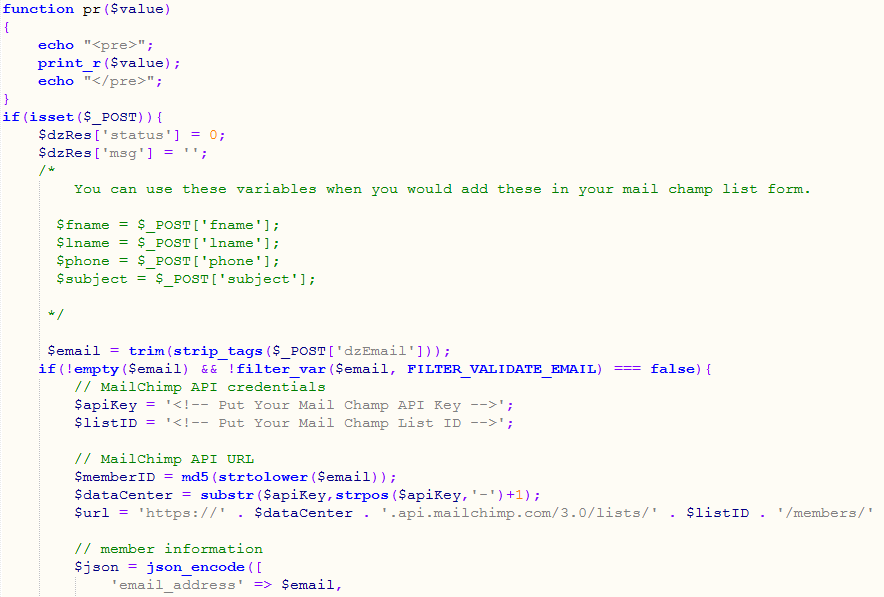
On server side i am using PHP for now. So on Form submit request we will check the POST variable.
try out the demo to see how it works.
MailChimp -
MailChimp is an email marketing service, helps to manage the subscribers of your website. MailChimp provides an easy way to integrate email signup form in your website and send the email newsletter to the subscriber. Beside the premium plan MailChimp also has a forever free plan. Using the free plan, you can add up to 2,000 subscribers to MailChimp and send 12,000 emails per month to the subscriber.
In this tutorial, we’ll show you how to integrate newsletter subscription form in your website and add subscriber to list with MailChimp using PHP. We’ll use MailChimp API 3.0 and PHP to add subscriber to list without confirmation email.
To integrate MailChimp API in PHP you need a MailChimp API Key and List ID where you want to add members. Before you begin, sign up for a MailChimp account and follow the below steps to get API Key and List ID.
Creating API Key and List ID
Get API Key:
1. Login to your MailChimp account.
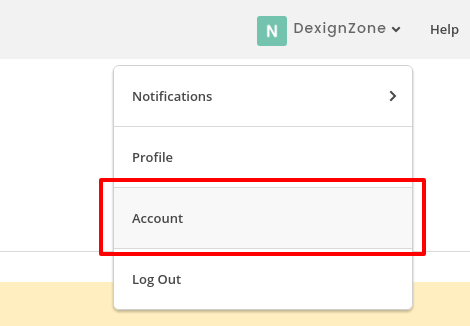
2. Under the user menu dropdown at the top left side, click on Account link.
3. Go to the Extras » API Keys from the top navigation menu.
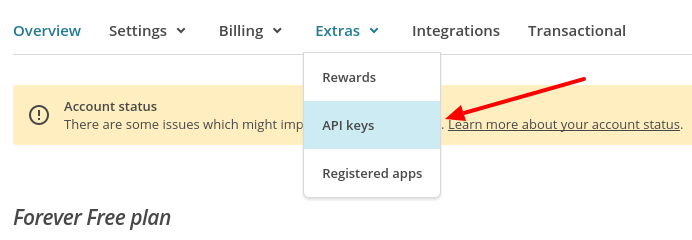
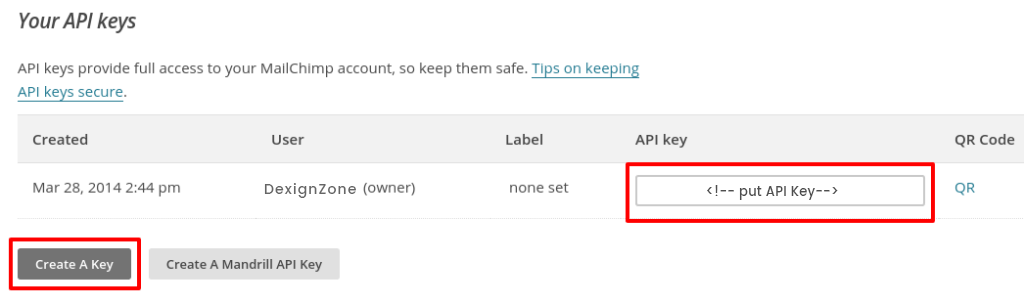
Under the Your API keys section, create an API Key by clicking on Create A Key button. Once generated, copy API key for later use in PHP script.
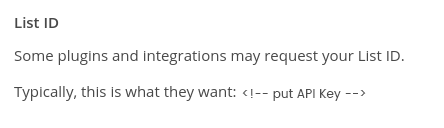
Get List ID:
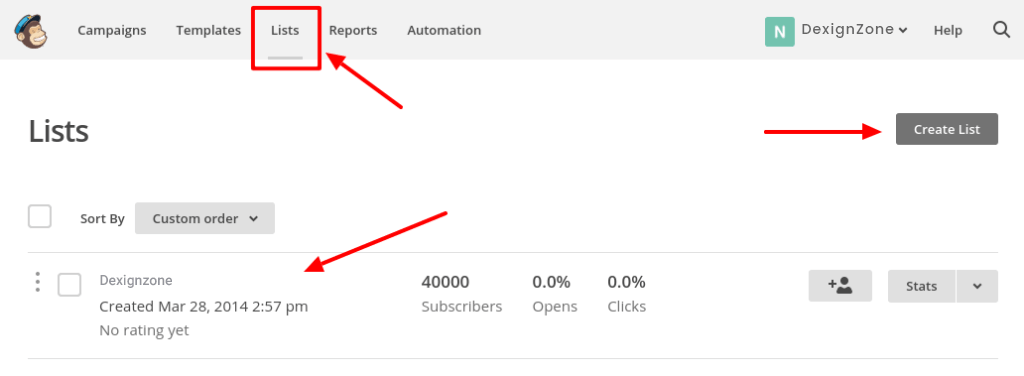
1. Choose a list in which all the subscriber’s information would be stored. In that case, you need to create a list in the Lists page.
Enter into your created list and navigate to Settings » List name and campaign defaults.
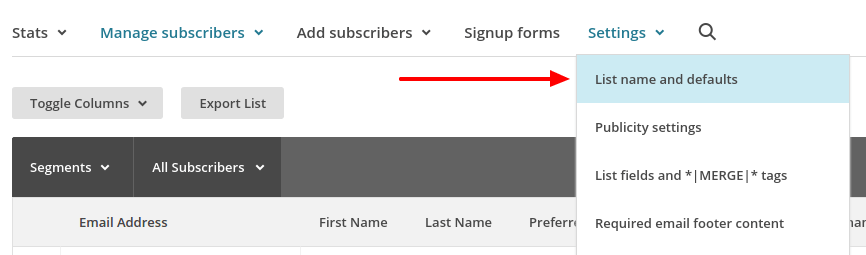
Under the List ID label you will find the List ID. Copy List ID for later use in PHP script.
In our example script, a simple newsletter subscription form will be implemented. Once the user submits the subscription form along with the details (First Name, Last Name, and Email), respective details would be added to the list of MailChimp account using MailChimp API and PHP. Also, the subscriber would be able to receive the newsletter of your website via MailChimp.
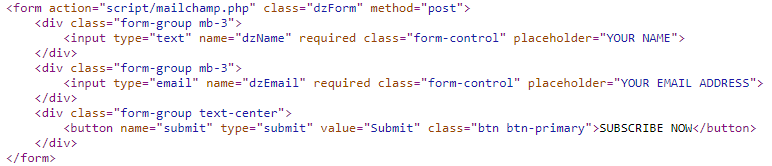
Subscription Form (index.php)
The index.php file contains the custom subscription form HTML. The subscriber needs to enter their First Name, Last Name, and Email. By clicking on SUBSCRIBE button, the form will submit to the action.php file for adding the subscriber to the MailChimp subscriber list.
Add subscriber to MailChimp List (action.php)
In the action.php file, subscription form data is received and send the subscriber details to the MailChimp using MailChimp API and PHP. To Use MailChimp API, you need to mention API Key and List ID. Insert the API Key and List ID which you’ve got in the previous step.
Here cURL is used to send an HTTP POST request to the List Members endpoint with member information. After adding the subscriber to MailChimp list, the call returns a response. Based on the response ($httpCode) , the status message would be shown to the subscriber.
To add a subscriber, you must include the subscriber’s status in your JSON object. If you include the subscriber’s status subscribed , subscriber email address would be added right away without sending a confirmation email. Use pending status to send a confirmation email to subscriber.

Conclusion
This example code helps to add subscribers to mailChimp list from the website through custom subscription form. You can see the added subscriber’s list from MilChimp account. Login to your MailChimp account and go to the subscriber’s list, you’ll see the newly added subscribers in the list.
Our Products -


Do You Need Help To Customization
After Purchase A Template...
You Will Start Customizing According Your Requirement
BUT What If You Don't Know
SOLUTION IS HIRE DexignZone
Hire Same Team For Quality Customization
- In Order To Ensure Your Website Is Live, We Will Customize
The Template According To Your Requirements And Upload It to the Server.
Version History - #back to top
v2.1 - 17 December 2024
- Added: Eight new post type pages to diversify content presentation.
- Added: Four blog grid and sidebar pages for enhanced layout options.
- Added: Four multiple media pages to support various content formats.
- Added: Several post layout type pages to offer flexible design choices.
- Fixed: Resolved JavaScript bugs to enhance user-friendliness.
- Updated: Optimized JavaScript and CSS files for improved performance.
v2.0 - 05 May 2023
- Added: Home Page 3
- Added: 08 Color Palette
- Added: Theme Box Layout
- Added: Theme Frame Layout
- Added: 2 New Preloader
- Update: jQuery v3.6.4
- Update: Documentation
- Update: custom.js
- Update: Bootstrap v5.3.0
- Improvement: Design improve
- Improvement: HTML & JS File Improve
- Bug Fixed: Resolve Responsive Issue
- Bug Fixed: HTML W3 Validation
v1.2 - 08 January 2023
- Added: Contact form SMTP
- Added: Implement SMTP mail functionality
- Improvement: Optimized coding stand for better performance
- Improvement: HTML File Improvement
- Improvement: CSS File Improvement
- Improvement: Contact Form Improvement
v1.1 - 12 June 2021
- Added: Add Home Page 2
- Improvement: CSS And HTML Improvement
v1.0 - 27 April 2021
- New: Created & Upload Visva